MetaServer > Help > Convert to Image PDF
160-110 MetaServer Convert – Convert to Image PDF
This is particularly useful for converting skipped documents from the Convert to PDF/A action to image-only PDFs and retrying the action.
To output the converted PDF:
Step 1: You add the Convert to Image PDF action(s) just before the Export action(s) used to output the converted document.
Step 2: In your Export action(s), select “Processed PDF” as the File source. More about that later.
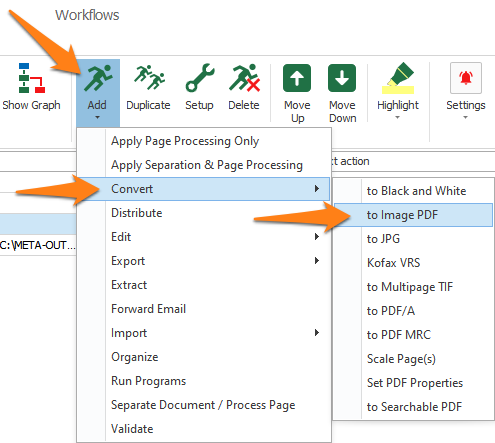
To add the Convert to Image PDF action, select the action after which you want to insert the Convert to Image PDF action and press Add -> Convert -> to Image PDF. The Setup window will automatically open.
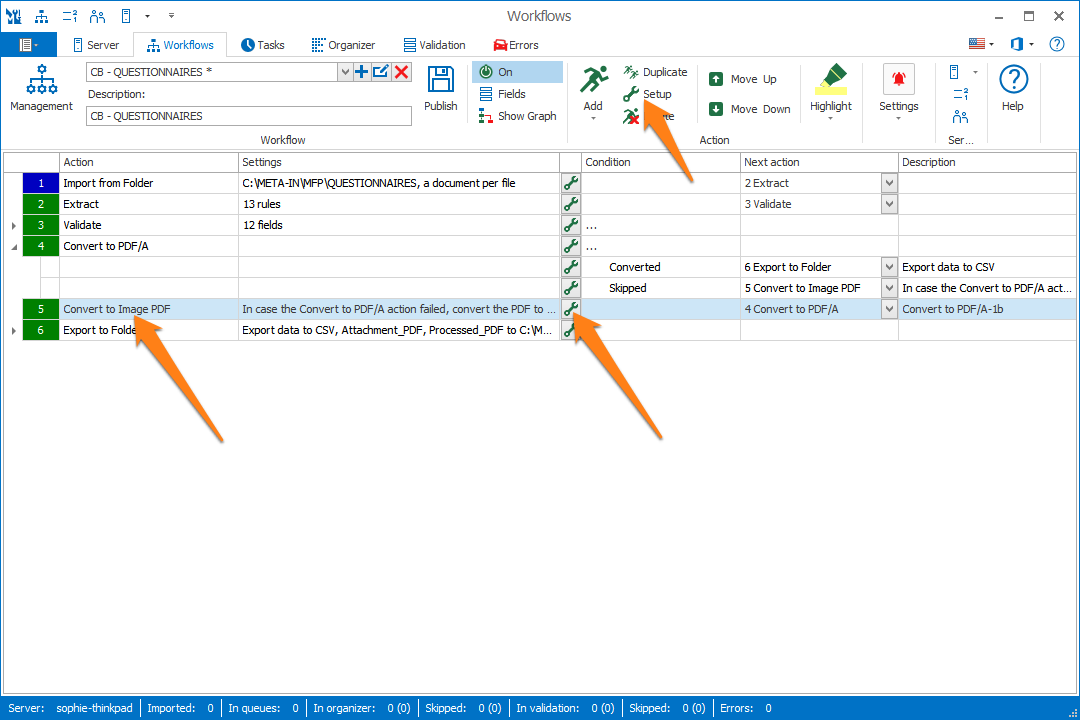
You can also open the setup window of an existing Convert to Image PDF action by double clicking it or pressing the “…” button on the right side of the action, as shown below.
In our example, we will make use of the “CB – QUESTIONNAIRES” workflow. This workflow is automatically installed with CaptureBites MetaServer.
01 – JPEG Compression: this value indicates the JPEG compression level of your document. You typically set the same JPEG compression as used in your scanner settings, but we don’t recommend a lower value than 70. The default value, 82, is based on Kofax’s default JPEG compression.
A low value will generate a smaller file size but will decrease the image quality.
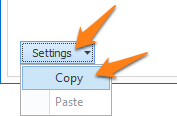
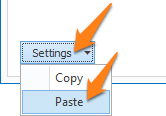
TIP: you can copy the current settings and paste them in another setup window of the same type. Do this by pressing the Settings button in the bottom left of the Setup window and by selecting Copy. Then open another setup window of the same type and select Paste.

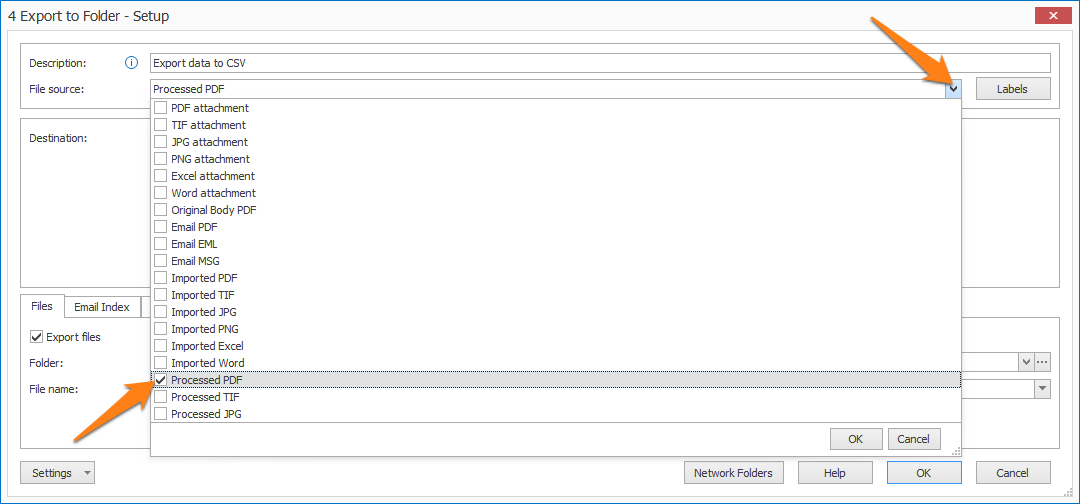
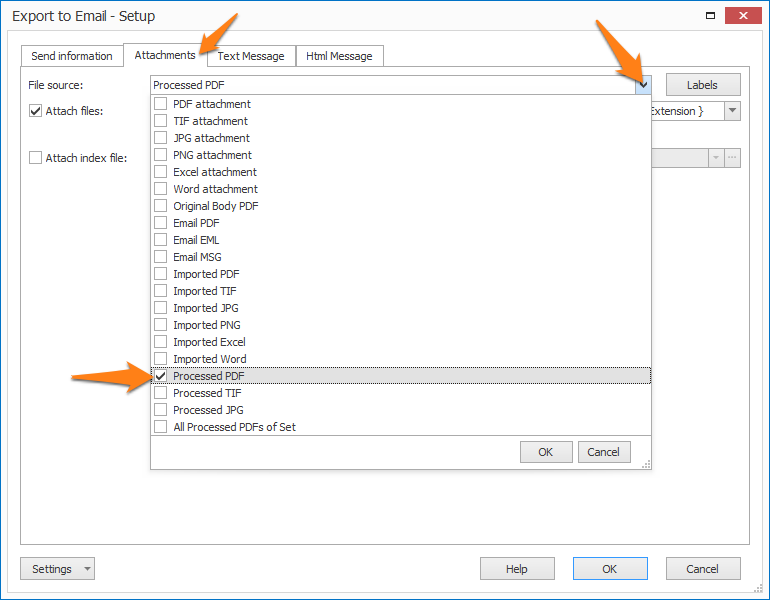
To export the converted documents, expand the File Source(s) list in your export action(s) and select “Processed PDF”.
File source selection in Export to Folder
File source selection in Export to Email, if you want to attach the edited document to the email

