040-090 MetaServer Validate – Validate Hyperlink
With the MetaServer’s Validate Hyperlink rule, you can let an operator open external files in an associated program. If the path points to a folder, the hyperlink button will open the folder in Windows File Explorer.
Use cases:
- Open the originally imported file.
- Open the originally imported MSG or EMAIL email file in your email software.
- Open a folder with documents associated to the current document.
In case you want to open an imported email, you need to make sure the .MSG file is available in a folder. You do this by adding an Export to Folder action after the Import Email action. Specify “Email MSG” as the File source.
In case you want to open an imported file, you need to make sure the original file is available in a folder. In the Import from Folder action, you can choose to “Move file to” instead of “Delete file” after the document has been imported.
NOTE: the Validate Hyperlink rule’s field is always a “read-only” field. This means that the Operator can not change the hyperlink value during validation.
NOTE: as best practice, we recommend using UNC paths instead of mapped drives for your hyperlinks.
If you share the file through its UNC path (the containing folders need to be shared, of course), any Operator Client on the network will be able to open the file. If you use a mapped drive (e.g “C:\”) it would look at the local drive of that client, which is not the correct place.
For example:
“C:\META-PROCESSED\20200709145432.PDF”
=> mapped drive, not accessible by another system, except the local system
“\\LENOVO-SERVER\META-PROCESSED\20200709145432.PDF”
=> UNC path, accessible by another system on the network
If you are not familiar with adding a Validate Action to your workflow, please refer to our Validate action help guide.
After adding a Validate action to your workflow or opening the setup of an existing one, you can add a Validate Hyperlink rule. In the Validate action, press the Add button and select Hyperlink.
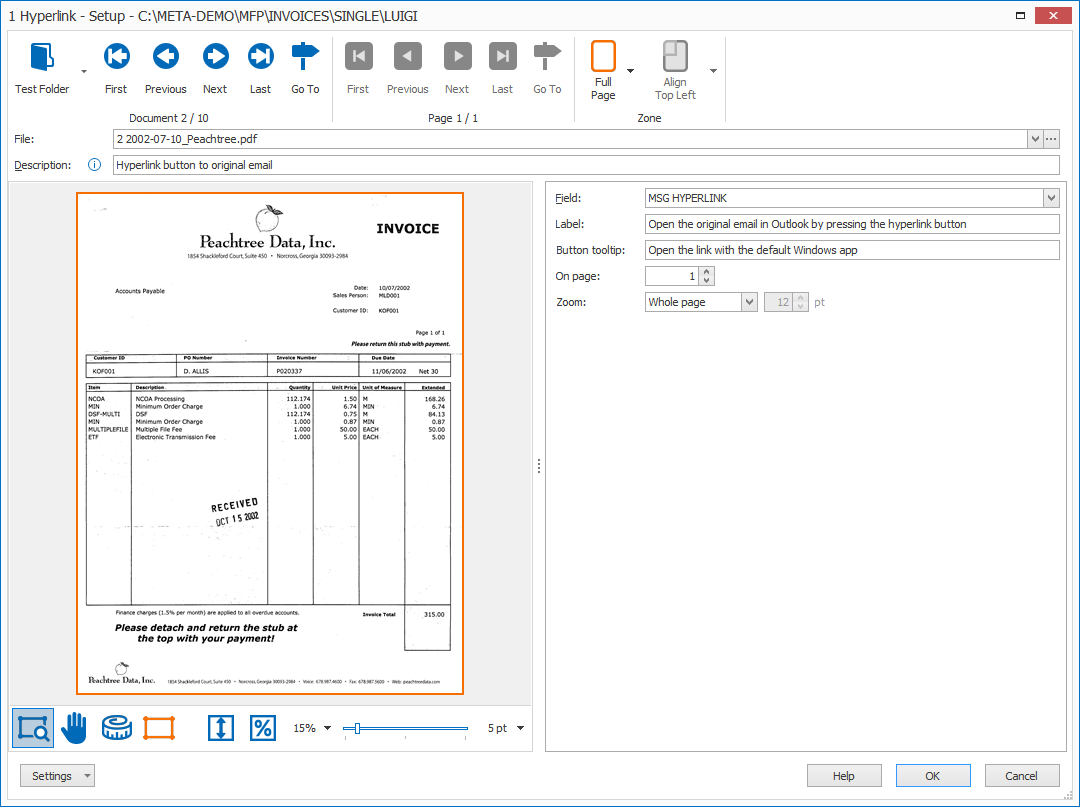
First, add a description to your rule. Then, select a field with the path value you’ve set in a previous Extract action using a Set Field Value rule. In this case, we select the field “MSG HYPERLINK”.
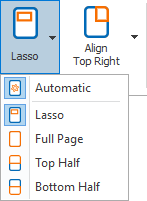
01 – Zone: in the Validate Hyperlink setup window’s toolbar, you will find two Zone tools to specify the highlighted zone on the page where your field value is typically located.
A hyperlink value is almost never extracted from the document itself. In the rare case that it is, you can use the Zone options to draw the attention to the correct part of the page to assist the operator to find the data on the page.
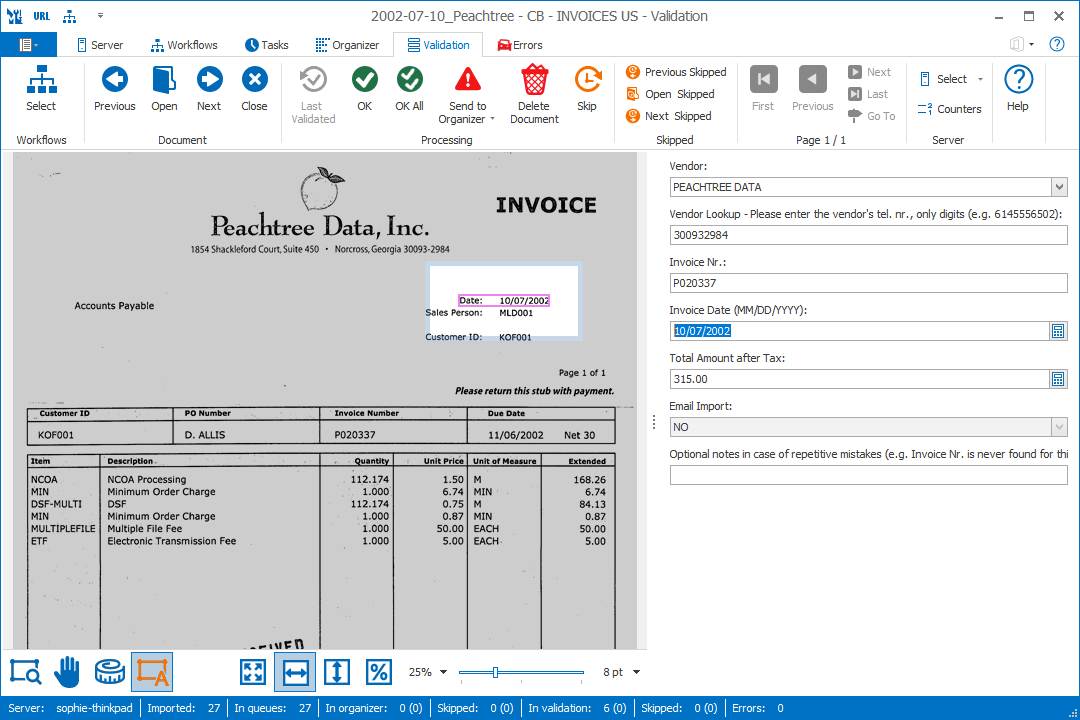
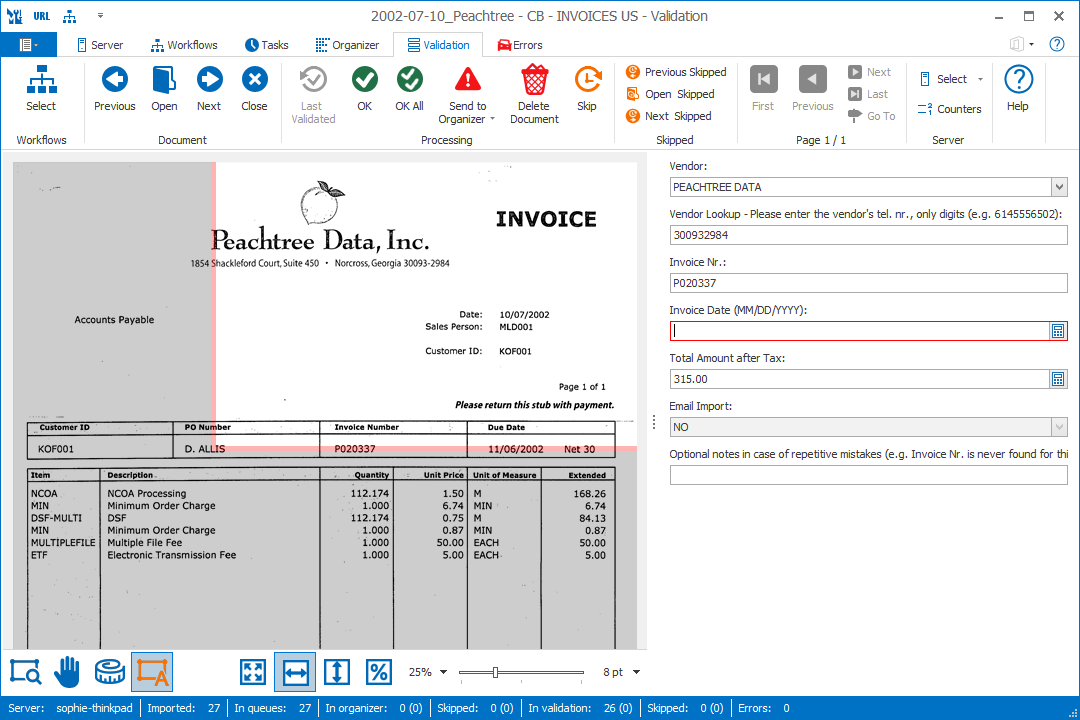
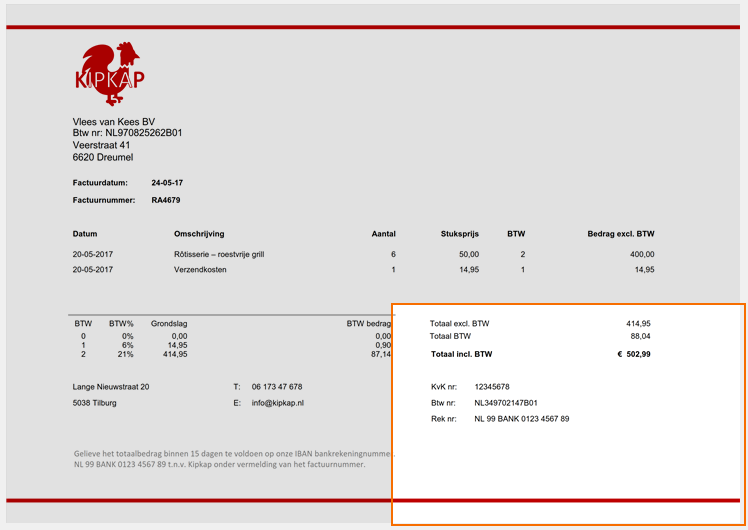
As an example, we will use another extracted value, Invoice Date, to show the different zone options:
This helps to draw the Operator’s attention to the exact location on the page.
Only if the Extract rules failed to extract the data, the defined highlight zone will be used (Lasso, Full Page, Top Half or Bottom Half). By default, the “Automatic” highlighting is enabled.
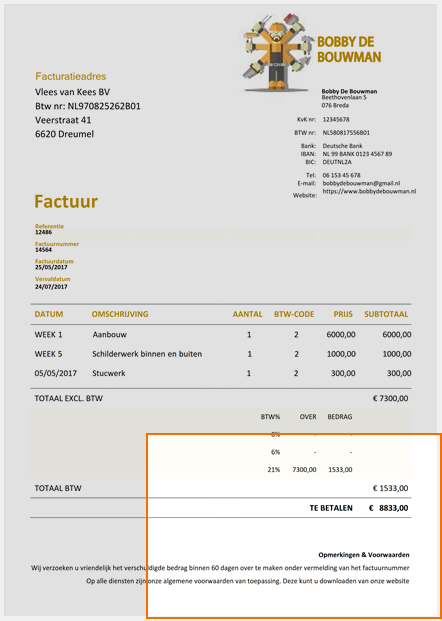
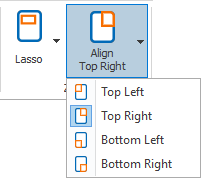
You can highlight the full page, the top or bottom half of the page or you can specify a custom zone with the Lasso option. You can do this by drawing a zone with the select tool which will be framed with an orange border.
The area around that highlighted zone will be dimmed in the validation viewer.
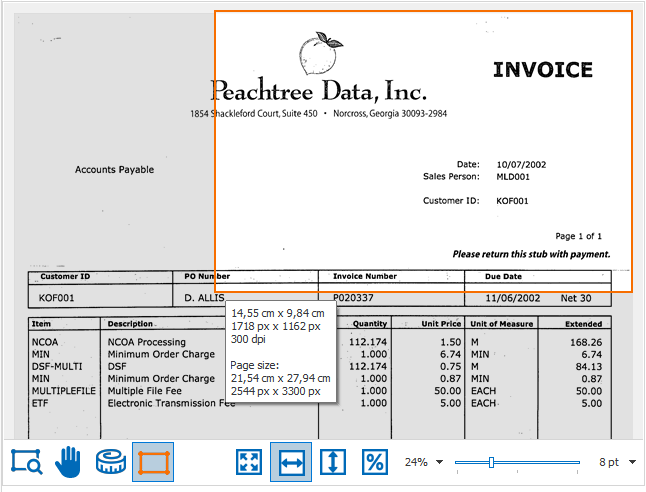
We recommend you scan your documents with a resolution of 300 DPI for the best OCR result and compact file size.
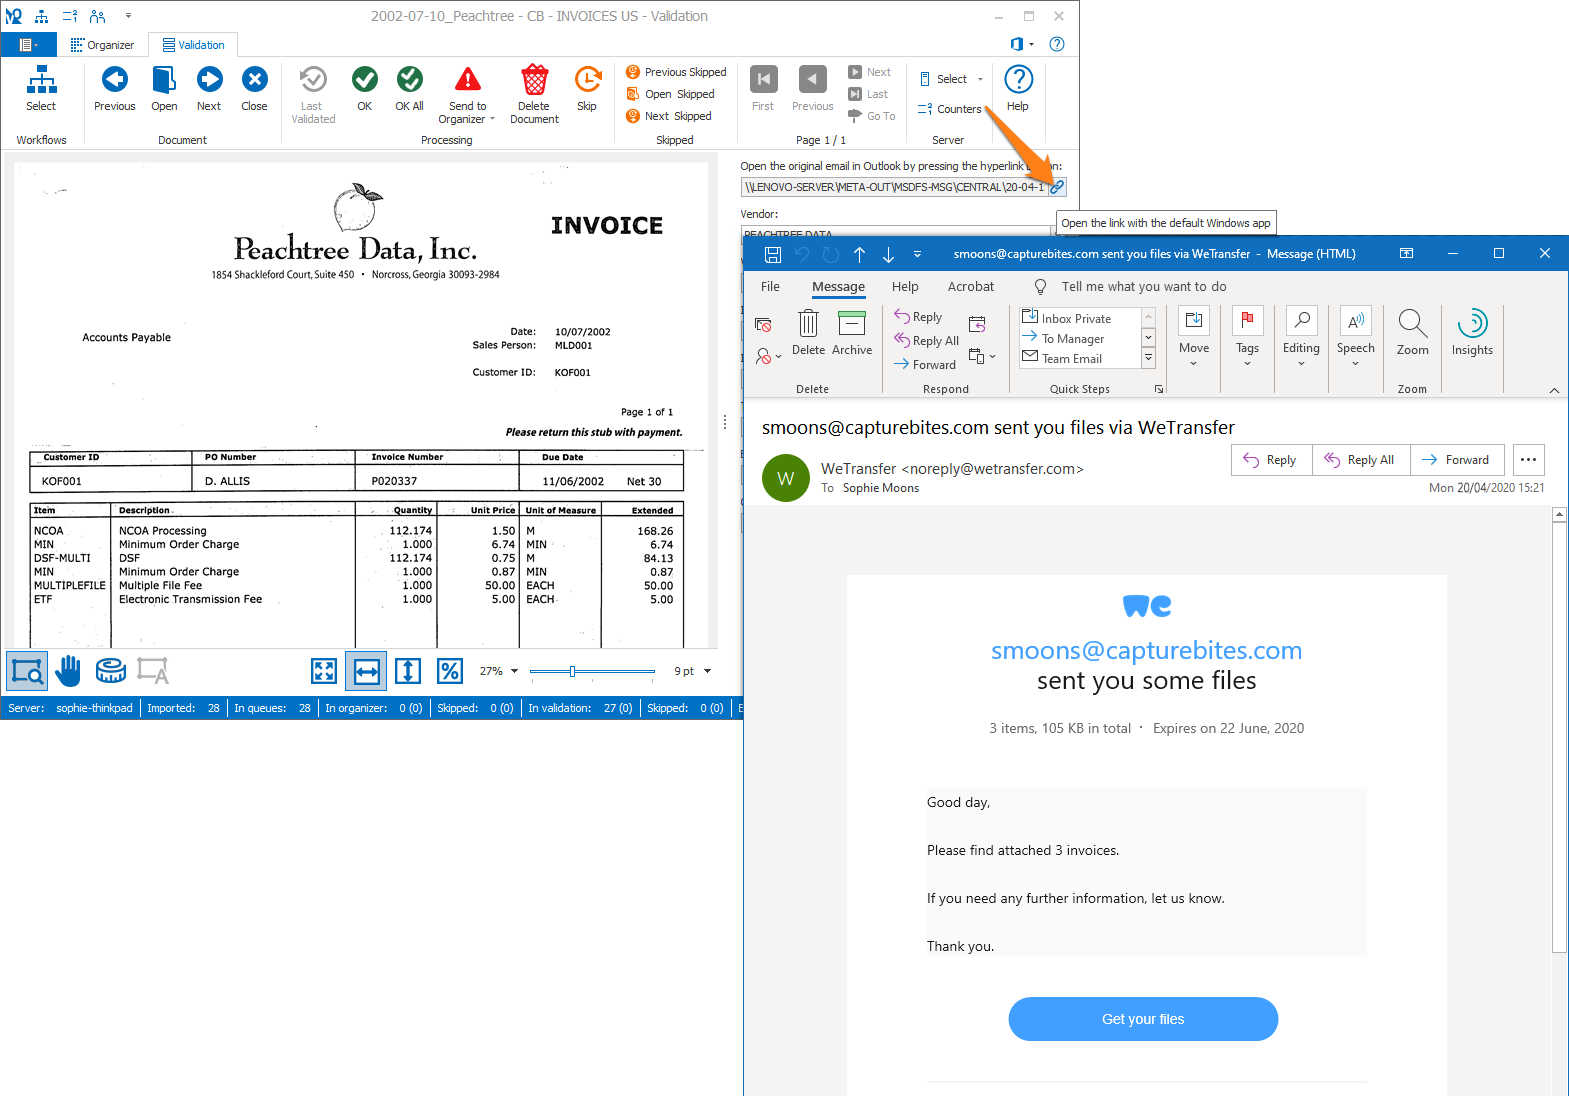
In the example below, we have set the label of our hyperlink field to “Open the original email in Outlook by pressing the hyperlink button” as an instruction to the Operator.
Note: The colon (:) following the label is automatically added.

The default is page 1.
For example:
– Enter 1 for the 1st page
– Enter -1 for the last page
– Enter -2 for the page before the last page
– Etc.
If a document does not contain the specified page, it will load the last page. For example, validating page 3 on a 2-page document will show page 2.
You can choose between:
This option is most often used on smaller displays. It gives you a good overview of the page while still being very readable.
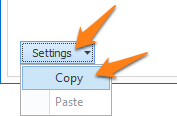
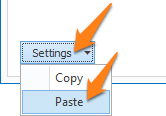
TIP: you can copy the current settings and paste them in another setup window of the same type. Do this by pressing the Settings button in the bottom left of the Setup window and by selecting Copy. Then open another setup window of the same type and select Paste.
