MetaServer > Help > Run > Run Programs
170-010 MetaServer Run – Run Programs
With the Run Programs action, you can run one or more windows commands or external programs accepting command line parameters before and after Export.
For example, you can run a batch command file, or an external program performing post-processing of index files.
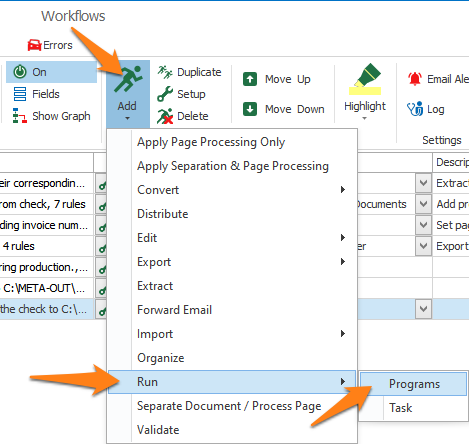
To add a Run Programs action, select the action after which you want to insert the Run Programs action and press Add -> Run Programs. The Setup window will automatically open.
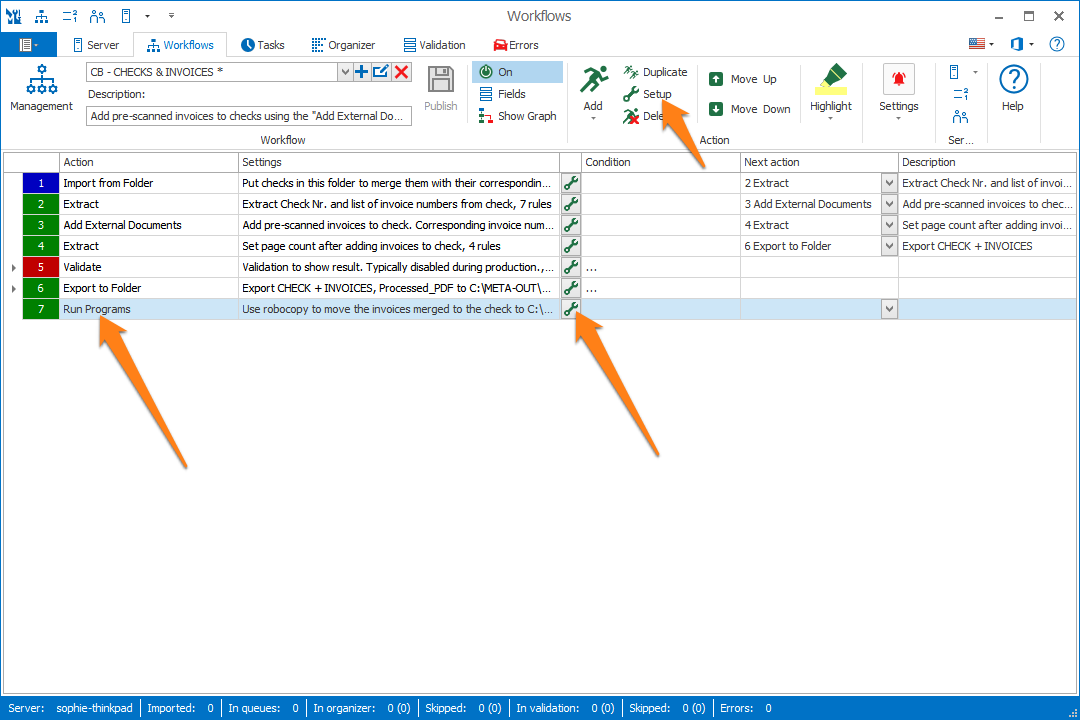
You can also open the setup window of an existing Run Programs action by double-clicking the action or by pressing the setup button on the right side of the action or in the ribbon, as shown below.
As our example, we will make use of the “CB – CHECKS & INVOICES” workflow. This workflow is automatically installed with CaptureBites MetaServer.
TIP: The thumbnail on the right will follow you, so you can easily refer to the Setup window. Click on the thumbnail to make the image larger.
01 – Add: press the Add button to add a new Run Programs rule.
02 – Edit: press the Edit button or double-click a rule to open its setup window.
03 – Move Up / Move Down: press the Move Up or Move Down button to change the order of the Run Programs rules.
The rules are executed in the sequence of the rules list. Therefore, the order of the rules in the list influences the result.
04 – Delete: press the Delete button to remove the currently selected Run Programs rule.
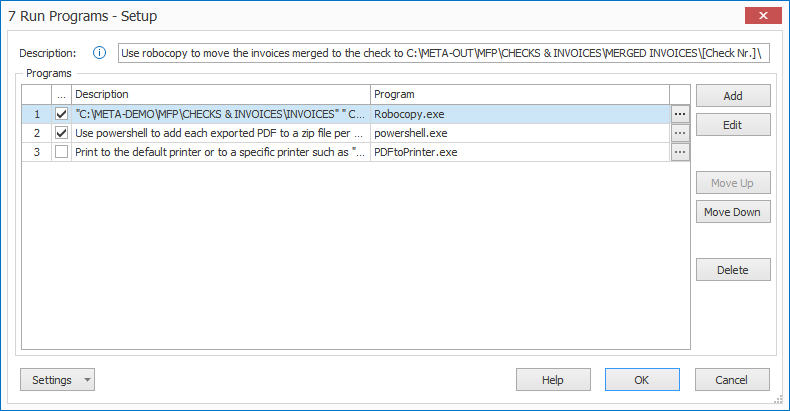
As a reference, in the “CB – CHECKS & INVOICES” demo workflow, we run the following commands in the Run Programs action:
Rule 1: Move a list of invoices to another folder after being attached to a check using Robocopy.
Robocopy is always included with Windows and is located in:
C:WindowsSystem32Robocopy.exe
Below command moves the invoice PDF files with names in the field { Field, Invoice List Robocopy } to a folder “C:META-OUTMFPCHECKS & INVOICESMERGED INVOICES{ Field, Check Nr. }”.
robocopy.exe "C:META-DEMOMFPCHECKS & INVOICESINVOICES" "C:META-OUTMFPCHECKS & INVOICESMERGED INVOICES{ Field, Check Nr. }" { Field, Invoice List Robocopy } /MOV /IS
NOTE: { Field, Invoice List Robocopy } contains a space delimited list of pdf file names.
Rule 2: Add all processed PDFs to a zip file per day using PowerShell.
PowerShell is always included with Windows and is located in:
C:WindowsSystem32WindowsPowerShellv1.0powershell.exe
powershell.exe Compress-Archive -Path 'C:META-OUTMFPCHECKS & INVOICES{ Field, Check Nr. }.PDF' -DestinationPath 'C:META-OUTMFPCHECKS & INVOICES{ Export Date, YYYYMMDD }.ZIP' -UpdateRule 3 (disabled): Print a PDF document after processing it with MetaServer using PDFtoPrinter.exe.
PDFtoPrinter.exe "{ Export File Full Path and Name }"We will be looking at the 2nd Run Programs rule as an example.
C:WindowsSystem32WindowsPowerShellv1.0powershell.exe
02 – Arguments: enter the command line argument for your program. In this case, you want to add all processed PDFs to a ZIP file each day. The argument for this is:
Compress-Archive -Path 'C:META-OUTMFPCHECKS & INVOICES{ Field, Check Nr. }.PDF' -DestinationPath 'C:META-OUTMFPCHECKS & INVOICES{ Export Date, YYYYMMDD }.ZIP' -Update03 – Start in: by default, this will specify the working path based on your selected program. You can also manually change this to another working path you want to use in your argument.
The following are popular commands that are executable through your Windows’ Command Prompt. All these example commands, except for ROBOCOPY, use:
Program: C:WindowsSystem32cmd.exe
Start in: C:WindowsSystem32
IMPORTANT: Basic commands like XCOPY, MKDIR, COPY, MOVE, etc. always need to be preceded with “/c”. This is not the case for ROBOCOPY commands.
TIP: To get more info about a command, run the command with the “/?” flag at the end.
For example:
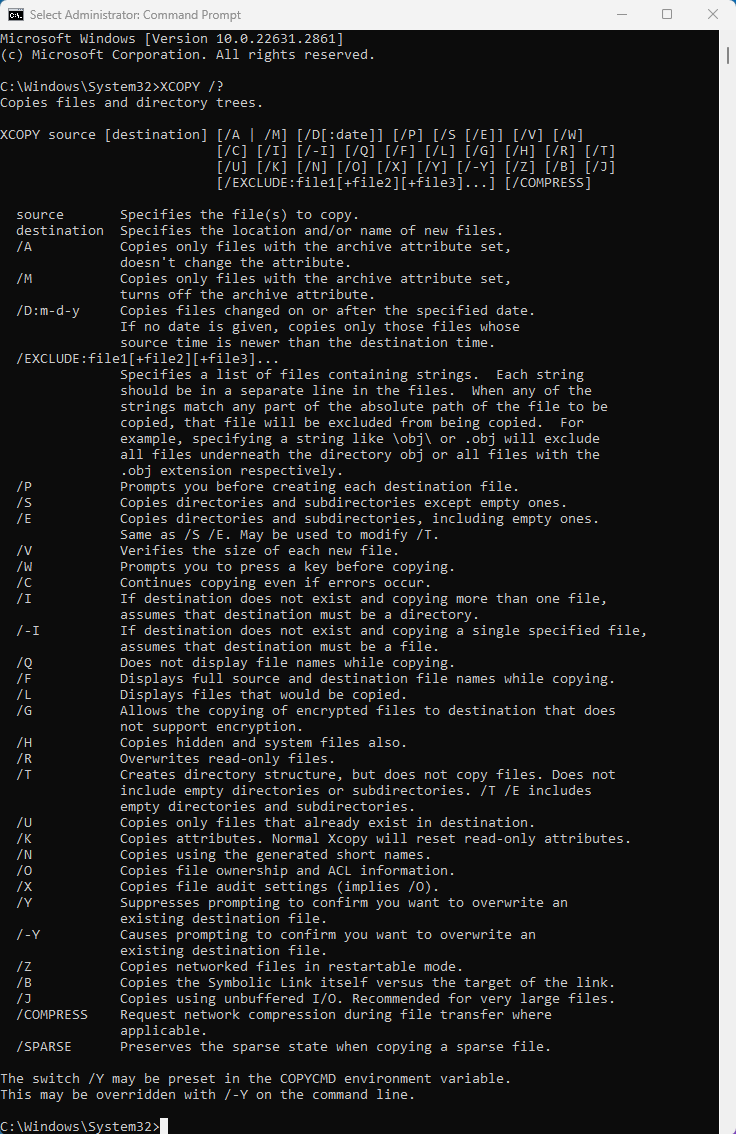
With the extended copy command, XCOPY, you can also create destination folders if they don’t already exist.
For example:
/c XCOPY /Y "C:META-OUTmonthly-report.csv" "C:META-REPORTS{ Current Date, YYYY }-{ Current Date, MM }"NOTES:
“/Y” suppresses prompting to confirm you want to overwrite an existing destination file.
“/S” Copies directories and subdirectories, except empty ones.
“/E” Copies directories and subdirectories, including empty ones.
To move files and folders in a single command, your best option is ROBOCOPY.
Program: C:WindowsSystem32Robocopy.exe
Start in: C:WindowsSystem32
The syntax for this is:
"C:SOURCE FOLDER" "C:DESTINATION FOLDER" "file1.txt" "file2.txt" /MOV /IS
NOTES:
“/MOV” Deletes the original source files after copy.
“/IS” Overwrites the same files in the target folder.
IMPORTANT: The source and destination folders should not have trailing slashes! This means that “C:SOURCE FOLDER” won’t work, but “C:SOURCE FOLDER” will work.
For example:
"C:META-OUT" "C:META-REPORTS{ Current Date, YYYY }-{ Current Date, MM }" "monthly report.csv" /MOV /IS
A timer is useful when you want to wait x seconds between two actions. Below example command waits 5 seconds:
/c timeout /t 5
Whenever you use the basic COPY or MOVE commmand to move or copy a file to a folder, the folder needs to already exist.
This means that, before any COPY or MOVE command, you need to first run a MKDIR command to be sure the destination folder exists. This is not required with the XCOPY command.
For example:
/c MKDIR "C:META-REPORTS{ Current Date, YYYY }-{ Current Date, MM }"
This command is able to move a file or several files using wildcards.
For example:
/c MOVE /Y "C:META-OUTmonthly-report.csv" "C:META-REPORTS{ Current Date, YYYY }-{ Current Date, MM }"NOTE: The “/Y” parameter suppresses prompting to confirm you want to overwrite an existing destination file.

This command is able to copy a file or several files using wildcards.
For example:
/c COPY /Y "C:META-OUTmonthly-report.csv" "C:META-REPORTS{ Current Date, YYYY }-{ Current Date, MM }"NOTE: The “/Y” parameter suppresses prompting to confirm you want to overwrite an existing destination file.

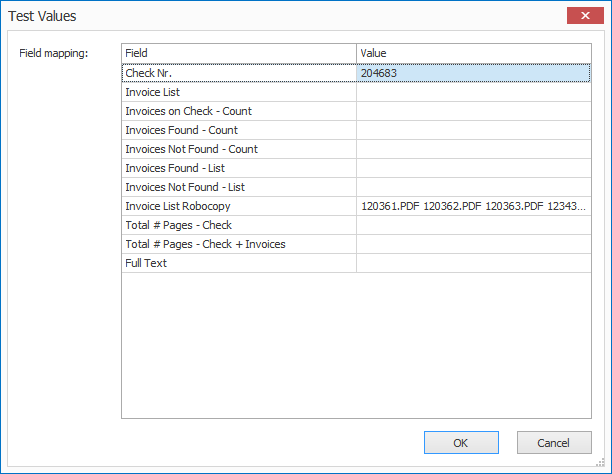
You can easily test your command by entering test values in the Test Values window and pressing the Test button in your Run Programs rule setup window.
01 – Test Values: enter test values in your workflow fields that will be used during your test.
System values like { Export Date, YYYYMMDD } are auto-populated with test values during your test.
02 – Test: after specifying your test values, press the Test button to test your command.
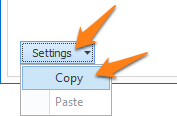
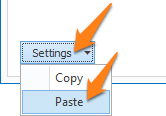
TIP: you can copy the current settings and paste them in another setup window of the same type. Do this by pressing the Settings button in the bottom left of the Setup window and by selecting Copy. Then open another setup window of the same type and select Paste.
