120-130 MetaServer Extract – Extract Text
Extract Text rules are defined in a MetaServer Extract or Separate Document / Process Page action.
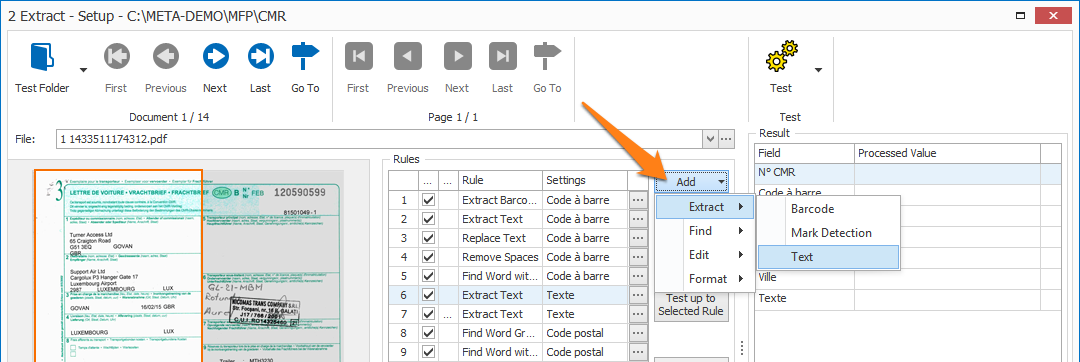
To add this rule, press the Add button and select Extract -> Text.
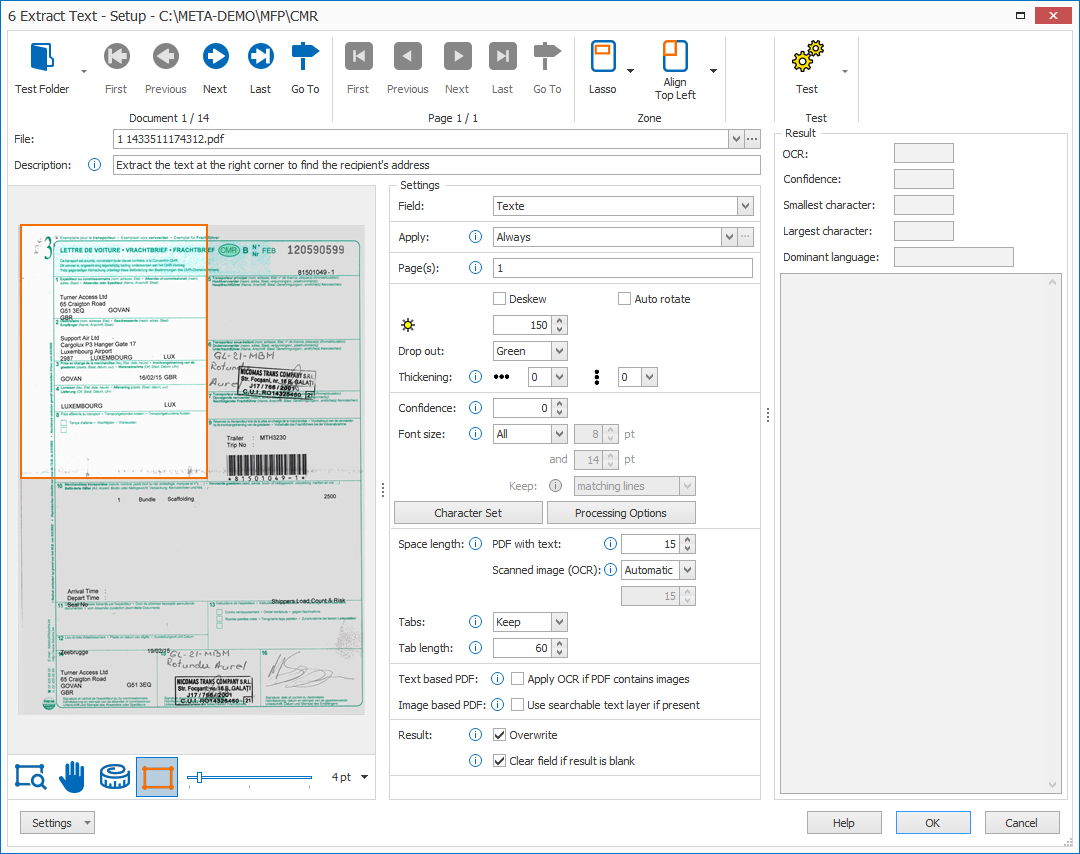
TIP: The thumbnail on the right will follow you, so you can easily refer to the Setup window. Click on the thumbnail to zoom in.
If you want a good example of conditional extraction, have a look at the first Extract Barcode and Extract Text rules (rule 1 and 2) of the “CB – CMR” workflow.
In the first rule, we try to read the barcode with the barcode reader. If this fails, the barcode field is empty. Only then will we allow the second rule to extract the number printed under the bar code.
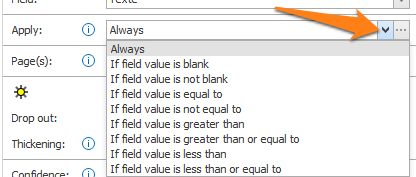
Press the “…” next to the drop-down arrow to open the setup window of the selected condition. In our 2nd Extract Text rule, the condition is “If field value is blank”.
1) If value of field: press the drop-down arrow to select the field value that needs to be evaluated.
2) is equal to / is not equal to / is greater than /…: enter the other value your field value needs to be compared with. You can also press the drop-down button to select different system and index values to compose your value.
In our 3rd Extract Text rule, we don’t need a special condition, so we select “Always”.
02 – Page: set the page number to where the information is located. The default is page 1.
For example:
– Enter 1 for the 1st page
– Enter -1 for the last page
– Enter 1-3 to extract from page 1 to page 3.
– Leave this empty in case you want to extract all pages (same as 1–1)
– Etc.
If a document does not contain a specific page, it is ignored. For example, extracting page “2,3” on a 2-page document will only extract page 2.
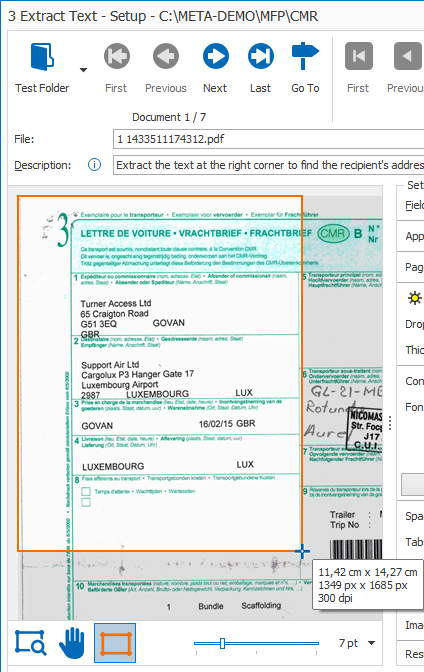
TIP: while drawing, you can see the zone’s dimensions in cm/inches (depending on your regional settings) and in pixels. Below that you’ll find the page’s resolution in DPI.
We recommend you scan your documents with a resolution of 300 DPI for the best OCR result and compact file size.
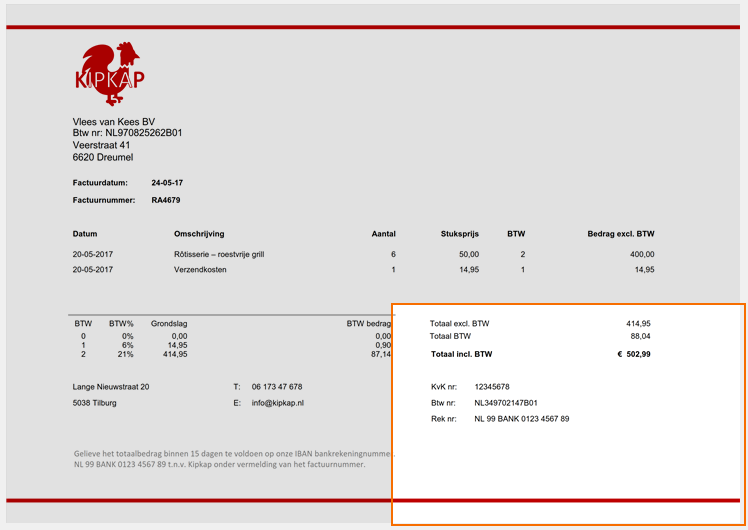
04 – Align: when documents in your workflow are of varying sizes or mixed orientations (portrait and landscape mixed together), you can align your zone in relation to any of the 4 corners of the image: the top left or right corner or the bottom left or right corner. That way, the zone will be positioned correctly on all sizes and orientations.


02 – Deskew & Auto rotate: if your documents are skewed or rotated incorrectly, you can enable the Deskew and/or Auto rotate option to optimize Text extraction. It will also result in a corrected version of the document.
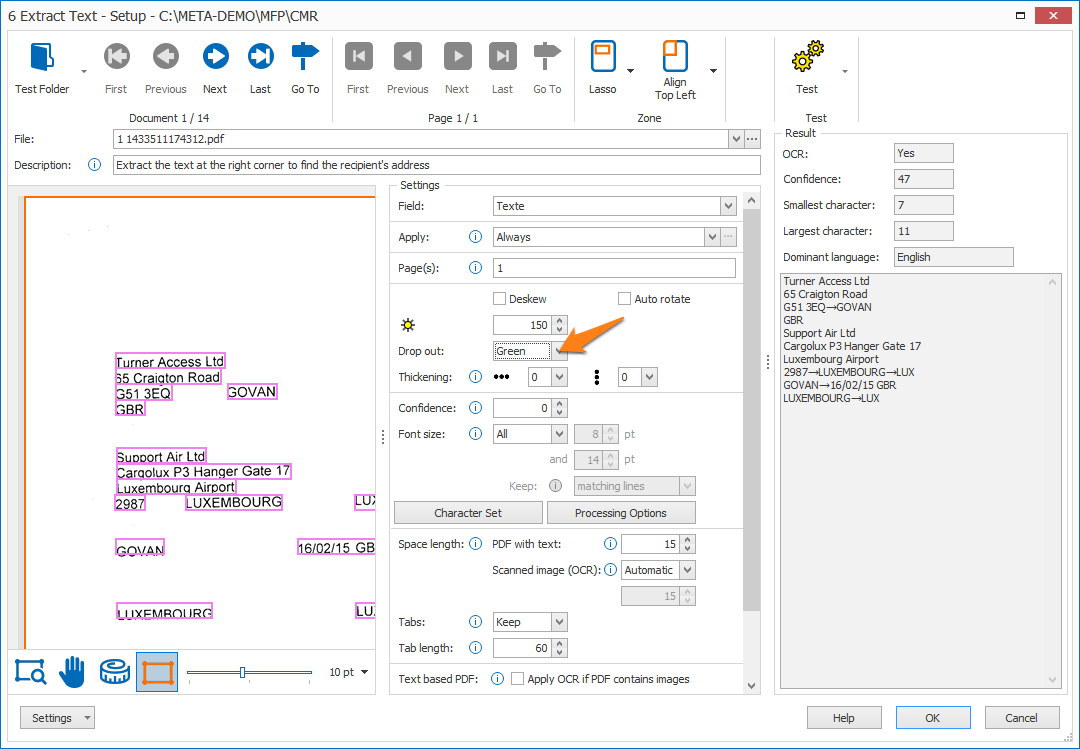
03 – Drop out: When working with forms with lines and labels in red, green or blue, we can filter these by using the drop out setting.
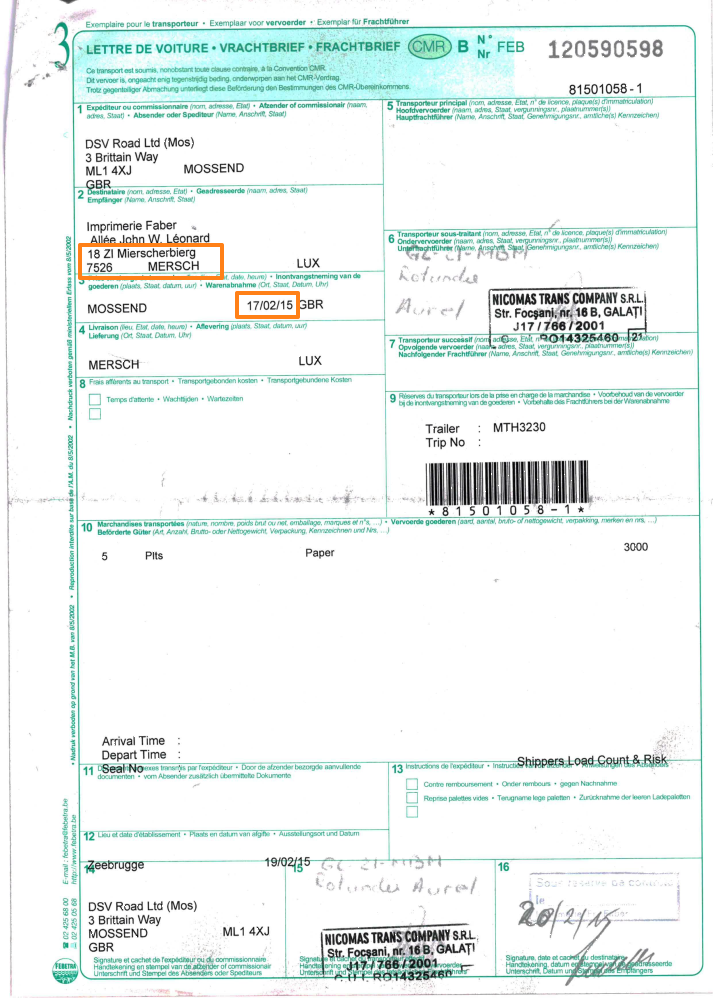
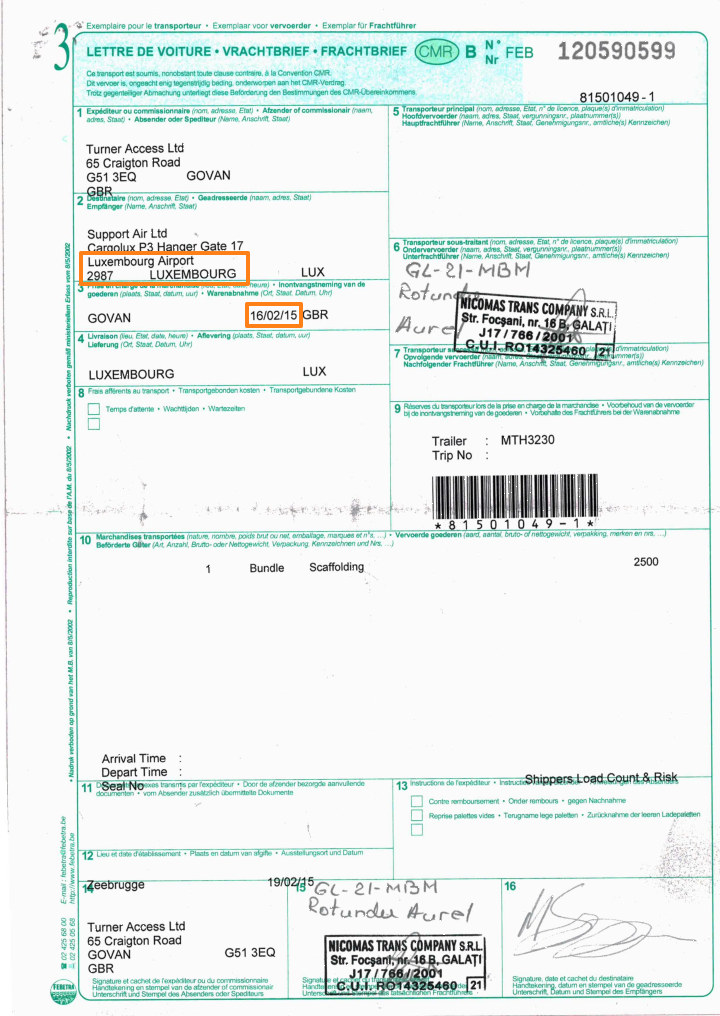
Using our example, the shipping document contains green boxes and labels. When testing the extract text settings, we get unnecessary data, noise and sometimes incorrect results where the green lines touch the variable text.
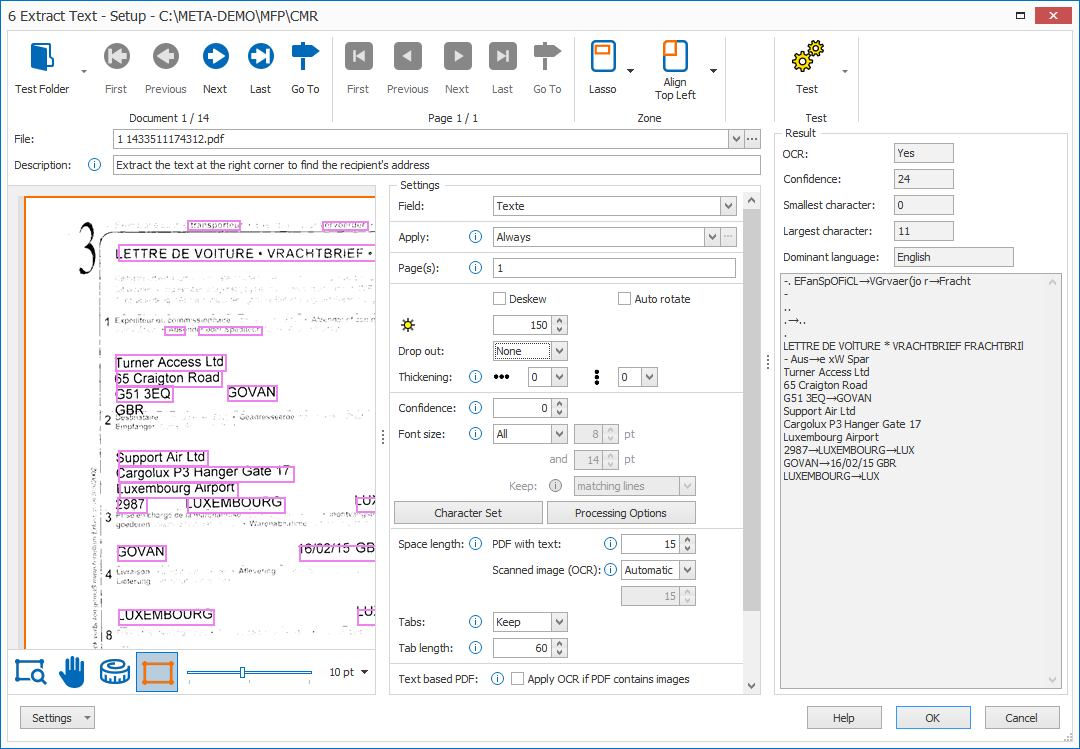
04 – Thickening: when extracting dot matrix printed text, you can use this option to make the text bolder in the selected direction(s). This improves text accuracy considerably.


01 – Confidence: characters with a confidence level lower than the set confidence level, will be ignored and not returned in the result. If set to 0, all characters are accepted.
For legacy reasons, this setting is retained. We recommend to start using the new Check if confidence is lower than option in the validate rules.
To help you in defining the correct confidence level, you can check the confidence level of each word group in your test result using the “Show info” option. You can also see the highest and lowest confidence level displayed above the test result.
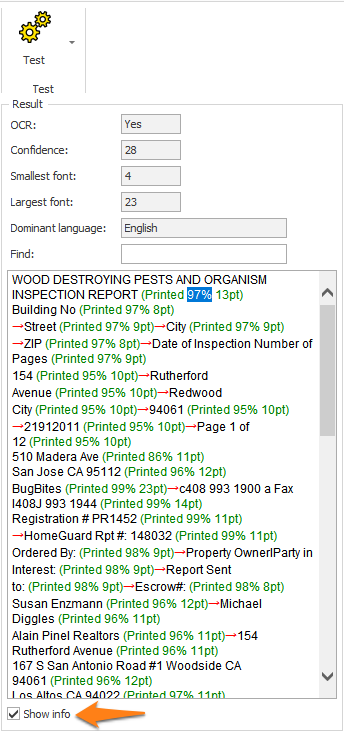
02 – Font size: here you can choose to set up a range of acceptable font sizes to only return lines or words containing at least one character within the specified range. You can even choose to only keep the matching characters
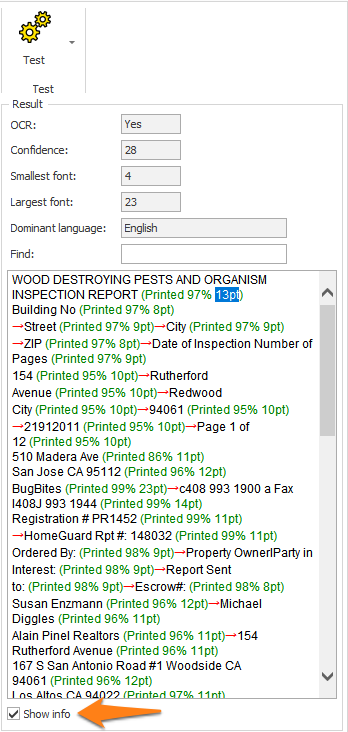
To help you in defining the correct font sizes, you can check the font size of each word group in your test result using the “Show info” option.
You can also see the font size of the smallest and largest character displayed above the test result.
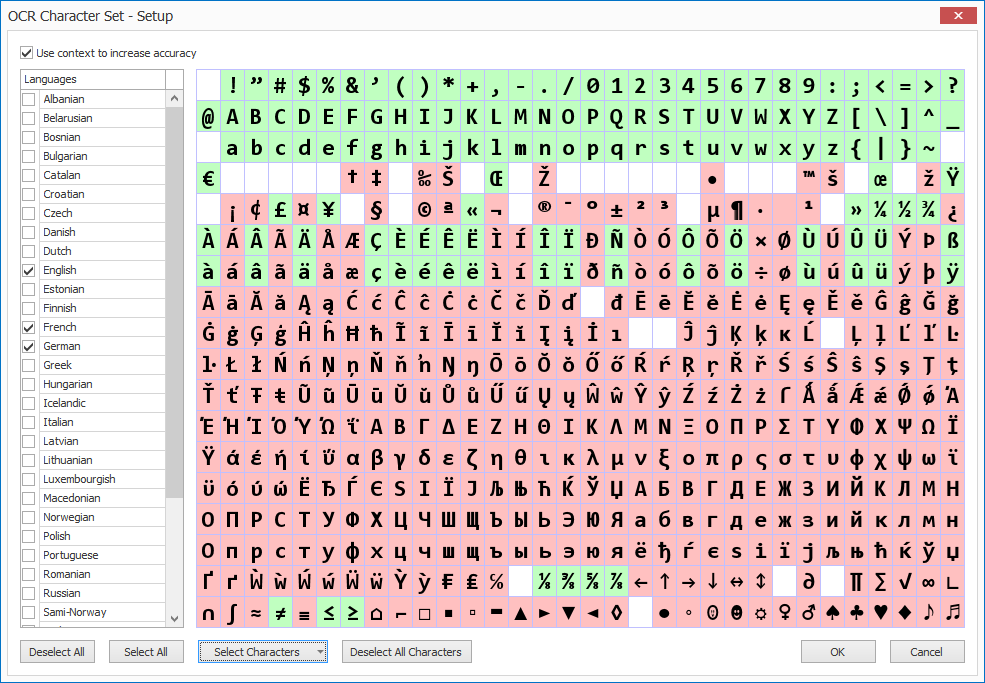
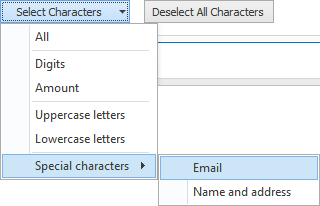
For example, if you want to extract a code like “123/456/789” and filter out the “/” characters, you may be tempted to just uncheck the “/” character from the character set. But if you do this, the “/” character will most likely be recognized as a 1, which makes the code illegible.
It’s recommended to leave the characters in the set that appear in the actual text and later remove characters with a Replace Text rule or change the result with Format rules.
01 – Processing Options: press the Processing Options button to open the processing settings.
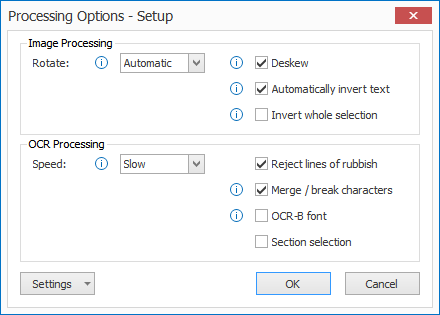
There are 2 types of processing options:
1) Image Processing:
Rotate: the selection will be rotated as specified. The rotation occurs just before the OCR extraction takes place. This setting does not alter the actual image, this is a temporary rotation to correctly extract the text.
Deskew: straighten skewed text before OCR processing.
Automatically invert text: automatically detects inverted text (white text on a dark background) in the selection and inverts it before OCR processing.
Invert whole selection: forces to invert the whole selection before OCR processing.
Speed: the speed option indicates how exhaustive the OCR process should be looking for improvements. There is a small loss in accuracy if you set it to a faster speed option.
Reject lines of rubbish: this detects random characters with a low confidence level caused by noise in the image. Enable this option to automatically delete lines of rubbish.
Merge/break characters: enable this option when characters stick together. This technology uses font size detection to determine the breakpoints, so it’s not recommended to use this option on text blocks with a high variety of font sizes on a single line.
OCR-B font: only enable it when the text you want to extract is created with the OCR-B font.

Section selection: Experiment with this setting when there are different font sizes on the same line. Sometimes sectioning may drop results when different font sizes occur on the same line.
02 – Space length: if the result shows too many spaces, like spaces between individual characters, increase this value. If spaces are missing and words start sticking together, decrease the value. The value is a percentage of the font size of the character following the space.
PDF with text: here, you can adjust the length for spaces coming from electronic / text-based PDFs with an existing text layer.
Scanned image (OCR): here, you can choose to let the OCR engine determine the space length (Automatic) from scanned / image-based PDFs and image files (TIF, JPG, etc) or you can adjust the space length using a custom value.
Apply OCR if PDF contains images: some electronic PDFs contain one or more small images that have logos or small header or footer text. These elements are seen as images, not text. If you want to extract the text in these images, enable this option so it automatically converts the full page to a 300 DPI image. It will then apply OCR to extract all the text.
Use searchable text layer if present: some scanned PDFs contain an invisible, searchable text layer. If you want to extract this existing searchable text layer instead of applying OCR, enable this option.
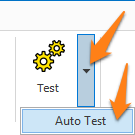
Auto test: press the drop-down arrow next to the Test button to enable Auto Testing. With this you can automatically test each document as you browse through them using the blue document navigation buttons.
02 – OCR (Yes/No): there are many types of PDFs. The most common PDF type used with MetaServer are Text-Based PDFs and Image-based PDFs.
Electronic / Text-based PDFs are generated by a computer program like MS Word an Invoice or report creation software etc. Text-based PDFs already contain computer text represented by fonts. This text can directly be extracted without any OCR processing.
Scanned / Image-based PDFs contain an image of each of the pages of the document and require OCR (Optical Character Recognition) to convert the images to computer text.
MetaServer automatically switches between electronic text extraction, in case of text-based PDFs and OCR extraction, in case of a scanned image.
If OCR is applied, the OCR value will indicate Yes.
If you want to see the text-based PDF detection in action, open the Extract Text Rule (rule 7) in the “CB – CMR” workflow and test the following documents:
C:\META-DEMO\MFP\CMR\CMR-01.pdf (image-based PDF)
C:\META-DEMO\MFP\CMR\CMR-02e.pdf (text-based PDF)
The text-based PDF won’t apply any OCR and will show the exact same text of the text-based PDF in an instant. Extracting a text-based PDF is much faster than an image-based PDF because the latter needs to have OCR applied.
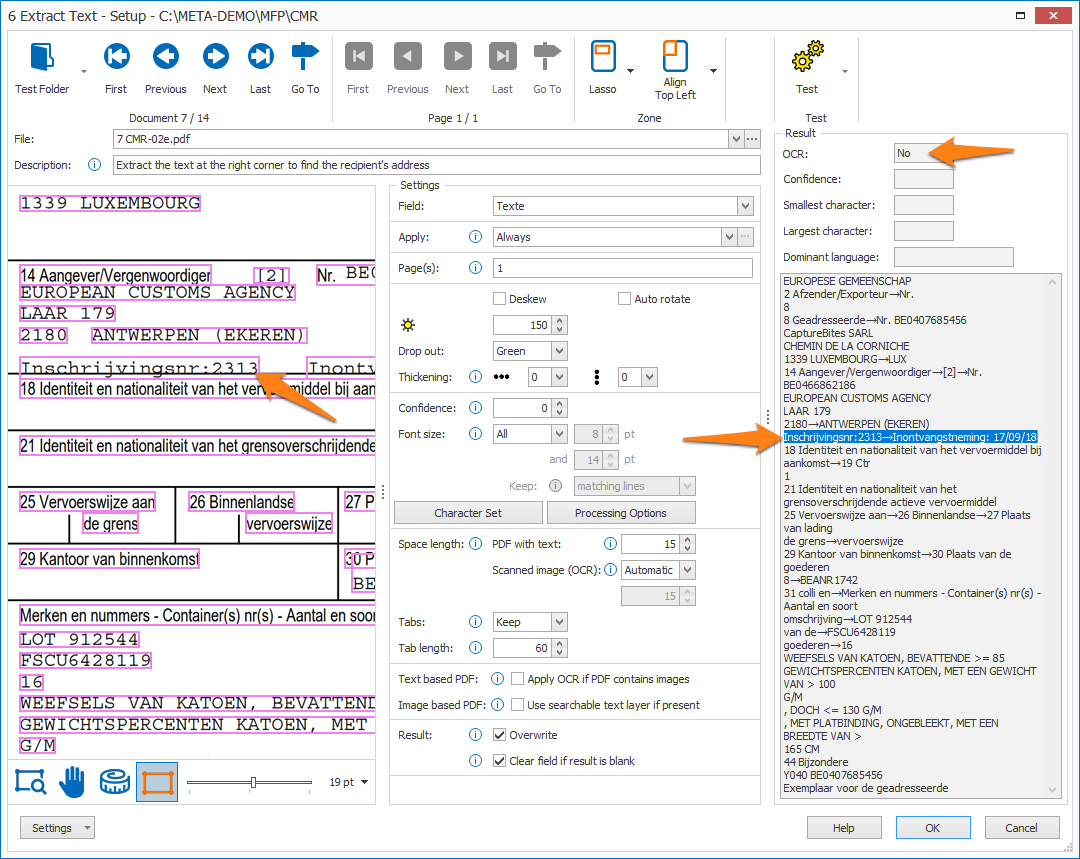
The below screenshot shows the result of the text-based “CMR-02e.pdf”:
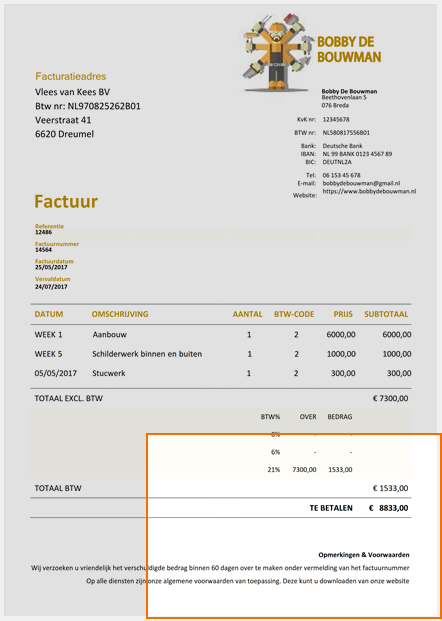
Even though a line goes straight through some of the text, the text extraction is still perfect because the line is just an object completely separate from the text. The OCR value in the Result panel indicates “No”.
03 – Confidence: this signifies the least confident character’s confidence level in the extracted text zone.
If you set the confidence level higher than this level, characters with a confidence level below the set level will be filtered out of the result.
05 – Dominant language: if you select multiple languages in the Character Set setup, then the most dominant language of the extracted text is displayed here.
The value is also stored in the { Document Dominant Language } variable. You can use this to classify documents per language and distribute documents to different extraction actions or workflows.
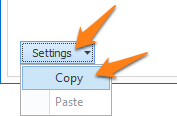
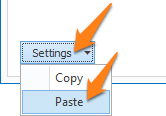
TIP: you can copy the current settings and paste them in another setup window of the same type. Do this by pressing the Settings button in the bottom left of the Setup window and by selecting Copy. Then open another setup window of the same type and select Paste.
