MetaServer > Help > Organize
080 MetaServer Organize
With the Organize action, you can send documents and document sets to the Organizer viewer where you can perform the following functions:
– Move Pages
– Cut, copy and paste pages
– Separate documents by adding separation points
– Delete pages
– Rotate Pages
– Merge documents
– Clip images from pages with the Clipping Tool
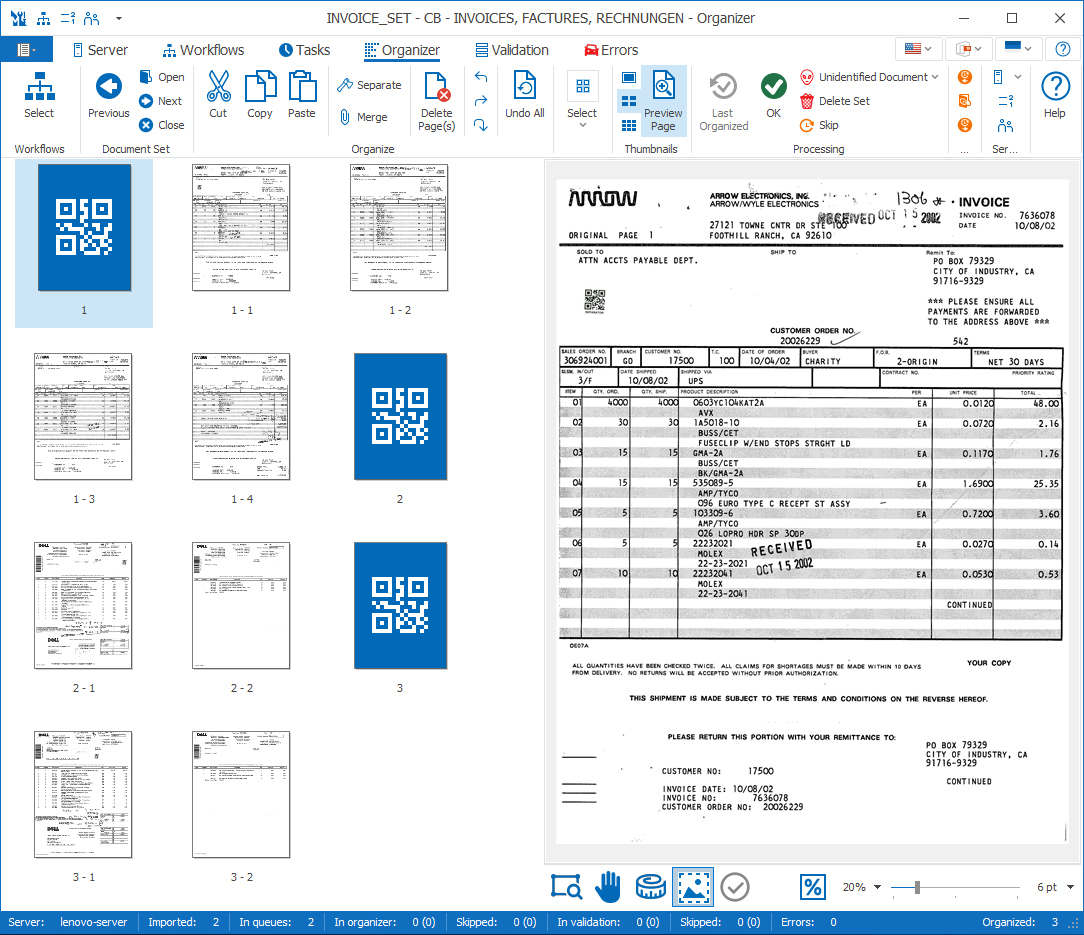
Organizer in the MetaServer Operator Client
The Separate Document / Process Page action is often combined with the Organize action. This forces the user to check the separation and page processing result before further processing the document(s).

Select Worfklows
Select one more more workflows to organize.
The icon turns red if not all workflows are selected to clearly indicate that not all documents will be available for organizing.
Previous Document Set
Open the previous document set to be organized.
Navigating through document sets with the blue buttons does not “OK” them. To save all changes and move the organized documents to the next step, you must press OK.
Open Document Set
Open a list of available document sets to select a specific document set to organize or reserve document sets to hide them from other organizer stations.
You can also show / hide locked documents. When shown, they are displayed in italic font, indicating that they can not be opened.
Other features:
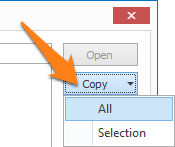
1) Copy the list of waiting documents in the Organizer queue. Press “Copy All” to copy the whole list or “Copy Selection” to only copy your selected documents.
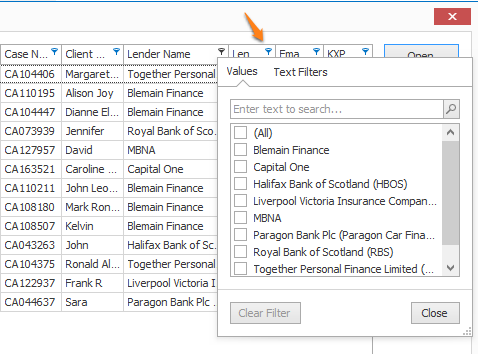
2) Filter documents based on the visible field values. Click the filter icon in the column of the field you want to use and check the value(s) that needs to be filtered. You can filter using multiple fields.
3) Multi-select several documents and OK them all with a single click using the “OK Selected” button. Be aware that values will not be separated or organized and will be OK-ed as they are. This function can be enabled / disabled in the Server tab of the Administration Client.
Next Document Set
Open the next document set to be organized.
Navigating through document sets with the blue buttons does not “OK” them. To save all changes and move the document set to the next step, you must press OK.
Close Document Set
Close the current document set.
As long as a document set is open, it is not available for any other Organizer stations. By closing it, it can be opened on another station.
Cut, Copy, Paste (Ctrl + X, C, V)
Select a page of a document and press Cut (Ctrl + X), Copy (Ctrl + C) and Paste (CTRL + V) to copy or move pages in your document.
You can also multi-select several pages by holding the Ctrl-key on your keyboard and cut or copy pages with a single click.
Separate (F2)
Select a page of a document and press Separate or F2 to mark it as the first page.
A blue separator icon will be inserted in front of the document.
You can also multi-select several pages by holding the Ctrl-key on your keyboard and insert all separator pages with a single click.
Merge (F3)
Select any of the pages of a document or its separator and press Merge to merge the document with the previous document.
You can also select the separator and delete it, using the Delete Page(s) button or its shortcut F4.
Delete Page(s) (F4)
Select one or more pages and press Delete Page(s) or F4 to delete them.
Like for all the actions in Organizer, you can undo deletions by using the Undo function (Ctrl+Z).
Rotation buttons (F6, F7, F8)
Select one or more pages and press one of the rotation buttons to change the orientation.
– F6: Left
– F7: Right
– F8: 180°
Undo All (Ctrl+Z)
Use Undo All or press CTRL+Z to undo all your changes.
Undo All actually works in 2 steps. After undoing your changes, you can perform a second Undo All to load the document as it was originally imported reinserting any automatically deleted pages, removing any auto-rotations or removing any auto-separation points.
Thumbnail Size
Select your preferred thumbnail size.
– Large
– Medium
– Small
Preview Page
Press Preview Page or double-click any thumbnail to toggle the large page viewer ON or OFF.
OK (ENTER)
Once you have organized a document and checked all separation points, you need to confirm by pressing OK to move it to the next step.
Last Organized
When you have organized a document set and pressed the OK button, it goes to the next step.
However there is a timer of 10 seconds (the duration can be adjusted here) before the organized document set moves to the next step.
This gives you the opportunity to reload the last organized document set to make some final corrections.
When the timer expires, the document set moves automatically to the next step and is not available anymore.
If you delete or reject a document, you can also call it back within the set time using the “Last Organized” button.
Reject
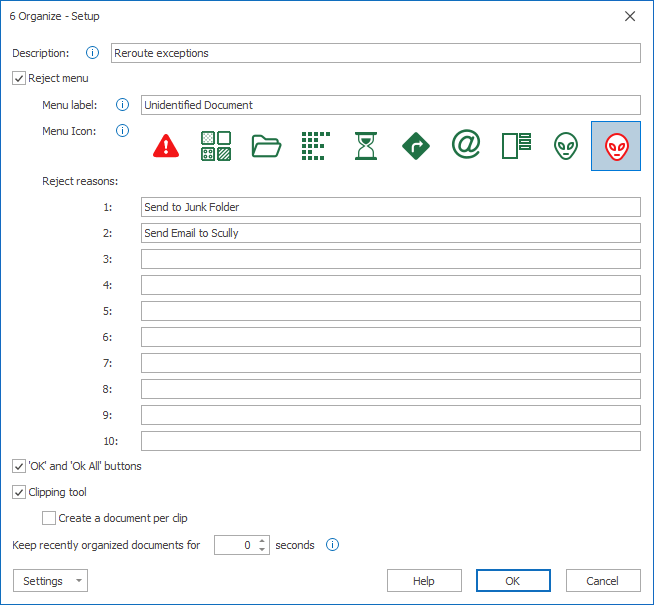
If a document cannot be processed because it is unreadable (bad scan) or some key information is missing, you can use the Reject function to trigger a special workflow.
For example, a rejected document can be emailed to the scanner operator to inform him about bad image quality.
You can define up to 10 different reject reasons here.
Delete Set (Ctrl+D)
If a document set is irrelevant, it can be deleted. Workflows can be configured to completely delete the document set or move it to a special folder.
Skip Set
When you need input from a coworker or need to lookup some info in a separate system to organize a document set, then you can skip it and continue working on other document sets.
Once you have organized all sets, you can reopen the skipped sets with the Skipped tools like “Open Skipped”, “Next Skipped”.
The Skip function can be disabled and in that case none of the skip functions will be visible.
Skip Controls
Use these controls to open and navigate through skipped document sets.
– Previous Skipped
– Open Skipped
– Next Skipped
Also see Skip Set
Select Server
A system can contain several MetaServers. Select the MetaServer you want to work with.
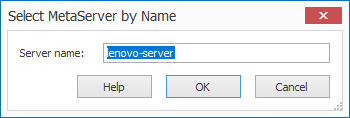
If the MetaServer is not on the same domain as the client, you can enter the server's name manually by pressing the arrow under the icon and by selecting "Select by Name".
You can easily find the correct Name by opening this setup window on the server.
Click on the image to enlarge.
Counters
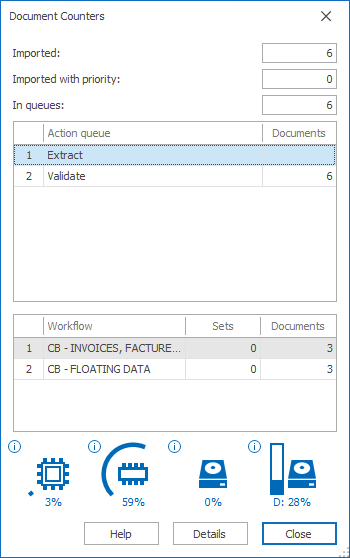
This opens a list of all documents being processed by MetaServer.
The list shows a total document count per action and totals across all workflows.
Active Users
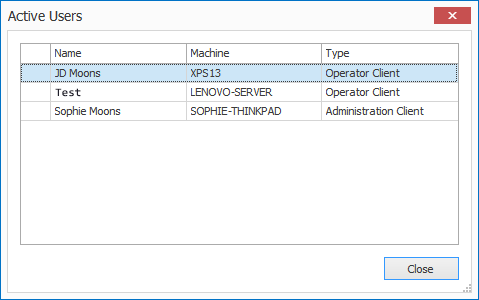
You can see a list of all active users and the type of client they're using on the current MetaServer.
The Status Bar
Server: The name of the machine MetaServer is running on.
Imported: The total number of imported documents in the MetaServer queue across all workflows. The counter does not get filtered by the Select Workflows function and always shows the total imported document count for both selected and unselected workflows.
In queues: The total number of documents in the MetaServer queue across all workflows. The counter does not get filtered by the Select Workflows function and always shows the total document count for both selected and unselected workflows. If your workflow separates documents, this counter will show the total number of documents after separation.
In organizer: Number of documents available (not locked by any user) for Organizing. The counter only shows the count of the selected workflows. See Select Workflows button.
Skipped: Number of documents available (not locked by any user) for Organizing with skipped status. The counter only shows the count of the selected workflows. See Select Worklows button.
In validation: Number of documents available (not locked by any user) for Validation. The counter only shows the count of the selected workflows. See Select Workflows button.
Skipped: Number of documents available (not locked by any user) for Validation with skipped status. The counter only shows the count of the selected workflows. See Select Workflows button.
Errors: Number of documents in error state. These documents triggered a red error. Errors and the documents that caused them can be viewed and managed in the Errors tab. The counter only shows the count of the selected workflows. See Select Workflows button.
Organized: while organizing your documents, you will see the number of organized documents change accordingly. For example, if you separate a document, it will add 1 document to the counter.
In our example, we will make use of the “CB – INVOICES US” workflow. This workflow is automatically installed with CaptureBites MetaServer.
The invoices in this workflow are imported from 3 different sources:
– SINGLE folder: the invoices are already separated.
– MULTI folder: different invoices have been scanned as one big PDF. This is called a “Document Set” and needs to be separated.
– Email Inbox: invoices are already separated and digital.
Invoices can exist of one or multiple pages and each vendor has their own unique lay-out. Our sample invoices don’t have any unique keywords or bar code on the first page or a separator sheet to automatically separate them, so, the user needs to manually separate them in the Organizer.
The video below demonstrates the separation of a sample set that contains 3 different invoices:
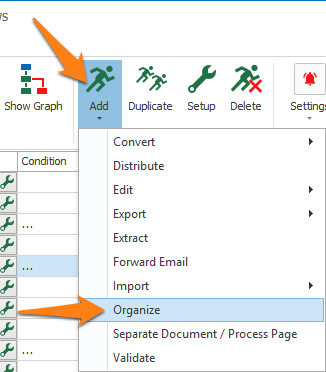
To add an Organize action, select the action after which you want to insert the Organize action and press Add -> Organize. The Setup window will automatically open.
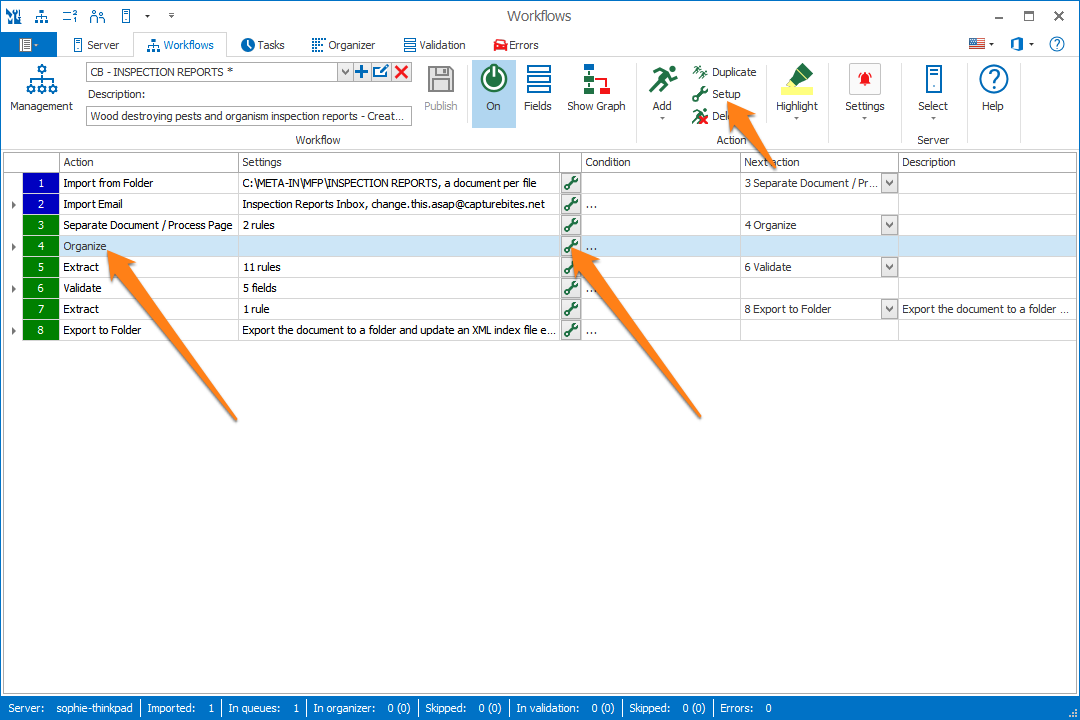
You can also open an existing Organize action by double-clicking the action or by pressing the setup button on the right side of the action or in the ribbon, as shown below.
01 – Allow to reject documents: disable this option if you wish to not allow Operators to reject their documents in the Organizer.
02 – Reject reasons: If a document cannot be processed because of bad scanning quality or some key information is missing or any other reason, the validation operator can use the Reject button to send that document to another action for further processing.
You can customize your Reject button’s label and icon and you can define up to 10 different reject reasons. In the Operator client, you can choose between the different reject / redirect reasons by pressing the the Reject button or by pressing the shortcut keys.
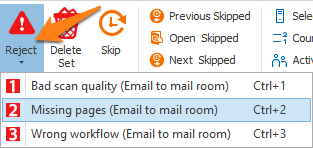
For example, a rejected document (set) can be emailed to the mail room to inform them about bad image quality or if it was sent to the wrong workflow.
An Organize action with several reject reasons is often followed by a Distribute action to process each reject reason differently.
03 – Hide ‘OK’ and ‘OK All’ buttons: enable this option in case you want to force the operator to select one of the Reject options instead of pressing “OK”. A common use-case is when operators are required to decide where to redirect documents to after checking the document in the Organizer.
04 – Clipping Tool: please refer to the Clipping Tool help page for more detailed information.
05 – Keep recently organized documents for n seconds: during organizing, you can go back to the last organized document for a specified time. After the given time, document processing resumes automatically, and the document won’t be available anymore for organizing. If you want to disable the possibility to go back to the last organized document, set the delay to 0.
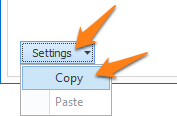
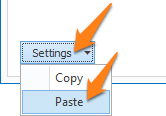
TIP: you can copy the current settings and paste them in another setup window of the same type. Do this by pressing the Settings button in the bottom left of the Setup window and by selecting Copy. Then open another setup window of the same type and select Paste.
